Prepare a Car for Paint
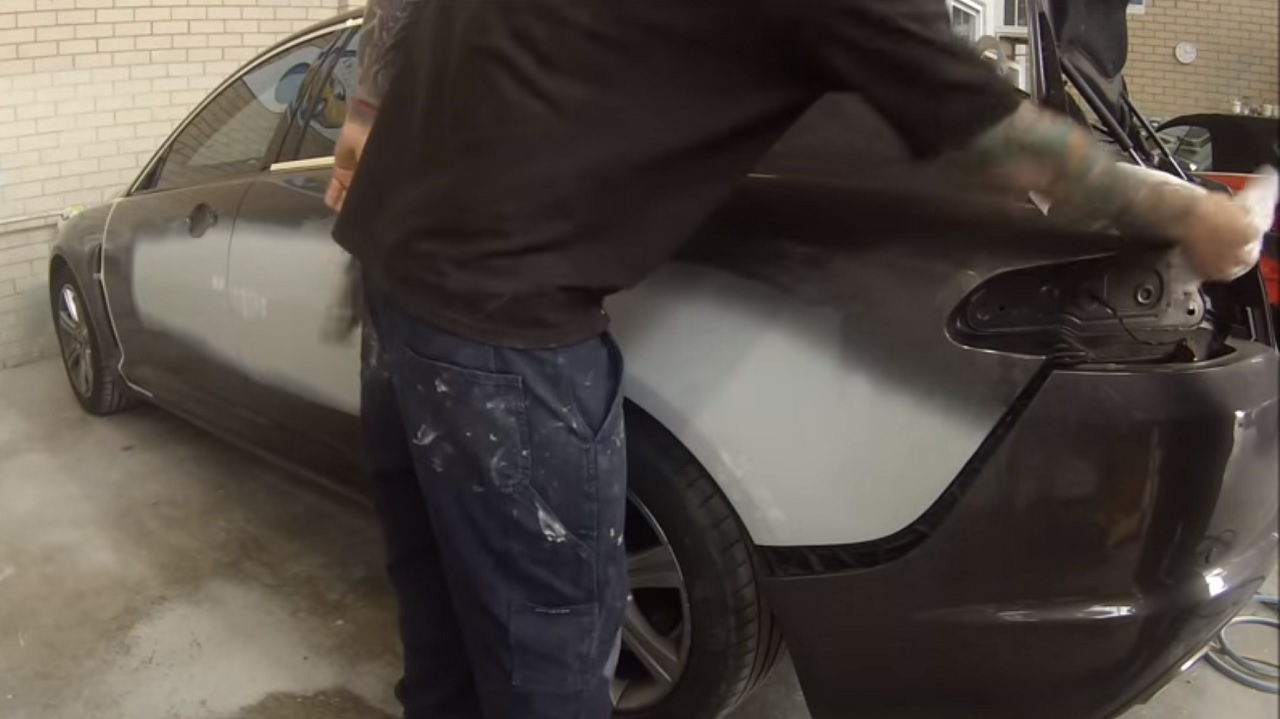
Being that I am not using water I will save cleanup time and I have also found that the overall job after paint will end up cleaner.
There are a few key points that if you want to succeed in Dry Sanding you must follow, I will list Below in easy to follow Bullet Points.
Dry Sanding
- Fine Filler
Take this opportunity to fill any small pin holes in the primer, it is not uncommon for a few to be missed from the filler repair stage.
Doing this first will allow the filler to dry by the time you are ready to block the repairs, I recommend a fine polyester filler, 2 personal favorites are U-Pol expert and Wurth Extra fine.
Get it in nice and fine, we’re not laying bricks.
Also trust me it is much better to apply your Fine Filler before you start blocking the primer.
- Clean well.
Don’t forget that the main point when Dry Sanding is keep it clean during each stage.
I like to start with 2 clean rags, 1 damp with clean water and the other dry, use the damp rag to clean off any dirt or water based contaminants then dry with the clean dry cloth.
If there is any oil based contaminants like road grime, tar, silicone based tire cleaner then I recommend using some wax & grease remover and wiping the entire job with it.
Personally I have found most of the time it is not necessary but it is up to you to determine if it will need it.
- Inspect
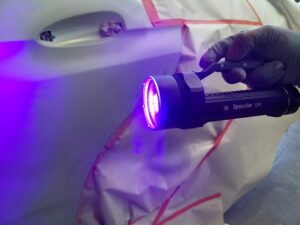
Now we have a clean surface and can assess and inspect, at this point I like to get an idea of any old paint, scratches, dents or damage that may have been missed when the job was repaired or quoted.
If there is any damage that’s been missed it’s always a good idea to ask the boss if they want it fixed, or read the job card.
- Block
Next up I like to Block down the Repaired areas, the filler should be dry.
There is quite a few different blocks on the market so find one that works well for you, I am using the 3M thin block, I like it and the 3M sandpaper is up there with the best on the market.
The grit sandpaper I start with will depend on how good the repair is and how much primer is on there.
At this shop the Panel Beaters were always in a rush so a good 4 coats of high build 2K primer is required.
Knowing I have enough primer on the job I can happily use 180 grit on my block.
If the repairs were really good then 3 coats of primer may be enough and then I may decide to use 240 grit on the block.
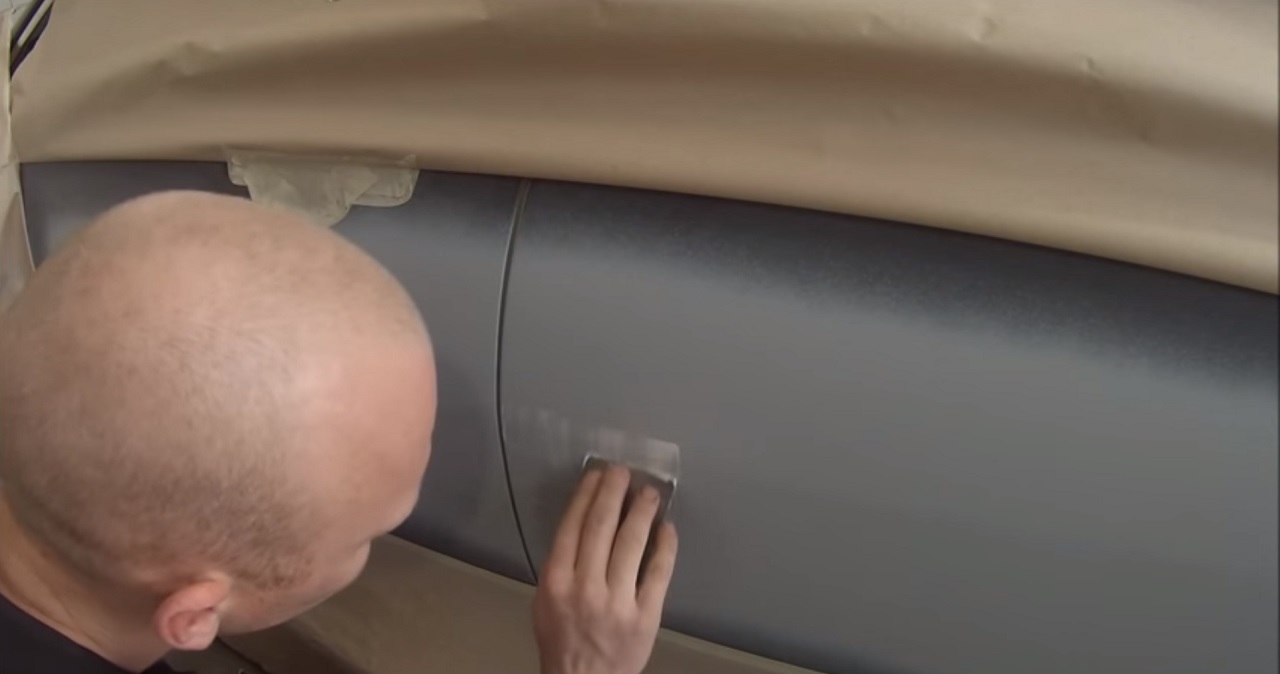
I like to use a flat palm and run my hand over the repaired area to feel for high or low spots.
Need be keep blocking, If there are any low spots left or ripples then make sure they are fixed.
After each stage it is important to use high pressured air to blow all dust off the job.
This is when I like to inspect for anything I may have missed like sanding scratches, ripples etc..
When I am happy the panel is straight and ripple free I like to use the old piece of 180 grit and go over the thick primer edges.
They will need sanding with a finer grit later but using 180 grit at this point is much quicker.
Then later a quick go over the top with 400-500 grit to remove the deep scratches.
- Orbital Sander
Once the block work has been done and I am happy that the panel is straight I’ll get the orbital sander out.
Using an interface pad to stop the sander from digging in and leaving scratches or even creating ripples.
I will remove all the 180 grit scratches with 320 grit.
When I am happy that is done I will then blow all the dust off again and check over it again.
If I missed and deep 180 grit scratches I’ll go back over it.
Then I will use a 400 grit sanding sponge on all the primer edges we sanded with 180.
If the colour is silver or you have been getting sanding scratches then maybe try 500.
- Cleanliness
For success using dry sanding to prepare a car you must be clean.
Especially when doing blends on metallic paint.
Any primer dust under the blends will ruin the whole job.
Use the compressed air often to keep dust off.
Be careful of contaminated sandpaper.
Going over the primed area then straight to the blend can contaminate the blend so be careful.
I was always told cleanliness is next to godliness, don’t underestimate cleanliness.
- Blends
So now the primed areas are most of the way there I like to use 600-800 grit on the orbital with interface to sand our blend areas.
Careful using 600 because it may go through the clear and ruin your blend.
I personally like to use 600 though because it is a bit coarser it usually last a lot longer than 800.
After the blend areas are done I will use 600 grit still on the orbital and go over the 320 grit primed areas.
Clean down again!! Air blower is all you should need, if you need to wipe make sure you use a clean rag.
Next up I will use 800 grit on a soft backed sanding sponge to go over all the shiny edges of the blend and also a quick scuff over the rest of the job to remove some of the 600 scratches.
Some prefer grey ScotchBrite but that won’t remove any orange peel from the previous paint.
- Guide Coat
Before blocking and between stages on the primed areas it is a good idea to use a guide coat.
There are a few different ways of doing this.
The old fashioned way is to get the acrylic black gun and spray an extremely light coat over the primer.
Personally I don’t like to do it that way because when dry sanding the acrylic black clogs the sandpaper up.
3M have a good charcoal dry powder guide coat.
Don’t forget it is just a guide and not fool proof so use your eyes, get close to the panel & inspect.
Guide coat isn’t necessary but a handy thing to use.
- Prepare for Success
All the methods I have listed above work for me but don’t forget that there are so many variables when Spray Painting.
Even the type of paint you use or the way you thin & apply may alter the end result.
I have spent hours making this post so hope you have been able to benefit from it.
Be sure to leave a comment below, I always do my best to get back to any relevant questions.
The video and blog above on how to Prepare a car for paint is part 1 on this Jaguar XF.
See part 2 here.


have a coupple of hoods to do on cars I own. There is room to blend within the panel, but one of them has lots of pearl in it, so it scares me some. Might try it later after some more practice.
Learned a lot from you. I really enjoy all your videos. Thanks and keep going. Good luck.
Hi I’m sing from HK .
I’ve learned a lot too.Thank you .I have a little trick as well.sometimes we don’thave to spray the pumper thinner.just wipe it over where you want to apply.
Hi, watched your Youtube of 5th Jan-2021 – re: nibbing a Tuscon. Sorry, unable to find another route to message you. But was taken back when you seemingly ‘dropped or picked’ up the green buffing mop ‘off the floor’…. you broke one of your golden rules… ‘cleanliness’… being taught back in the late 60’s – Never, Never… use anything you drop on the floor when prep/ finishing, bin it or get a fresh one, if a mop wash it out thoroughly… who knows what’s has stuck to it, considering damp compond on it’s surface. I do like your approach to ‘prep/spraying/refinishing cars’ a good source of re-cap for me but becareful not trip yourself up. Probably a too a Raw footage piece…!
We stumbled over here different page and thought I might as well check things out. I like what I see so now i’m following you. Look forward to checking out your web page yet again.
Different way really nice thanks for sharing
I am a new painter. I have learned so much from you!! Thanks
Dry sanding is definitely the way to go.
Wish I’d seen this a couple of days ago, thanks for sharing. Love your YouTube channel btw.
I used an acrylic as a guide coat, and had a few reactions to specs of left over guide when I added another layer of 2k primer surfacer. Have you ever had this happen, and how might i fix it?
Hi gunman what type of sander are you using i see it rubs very quick and fine what brand is it and what specifications does it have i would appreciate if you can reply since im looking to buy one thanks
Hi Gunman,
I’ve gone back t bare metal on my bonnet and sprayed 3 coats of primer. When I sand it back with 180 it’s going straight to metal again, any ideas? I feel like I might need to go to something like 2000 for sanding which seams really at odds with general prep advice. Cheers Evan
Thanks – Enjoyed this update, how can I make is so that I get an alert email every time there is a new article?
Hello Gunman
Really enjoy your videos. Im starting out on my own after a few years working for other people and I have found your hints and tips a godsend. Great work and great to see someone willing to share their ideas. Many thanks again and keep up the fantastic work
How you doing. For the past 2 years my son and I have learned how to professionally prepare and spray most anything thanks to your invaluable knowledge you have imparted to us over the years. We can never thank you enough. God bless and keep that paint flowing. Kal and Faizel!!!!
Just started following you and bonus because you’re Australian: re ‘local’ products etc. You explain what you are doing really well.